Hey there, future artists! Ready to draw some awesome tractors? We're going on a creative adventure today, learning how to draw these amazing farm machines in a couple of super fun ways. Let's get started! For even more inspiration, check out these cool pedal tractors.
Method 1: The Super-Fun YouTube Tractor Drawing Adventure
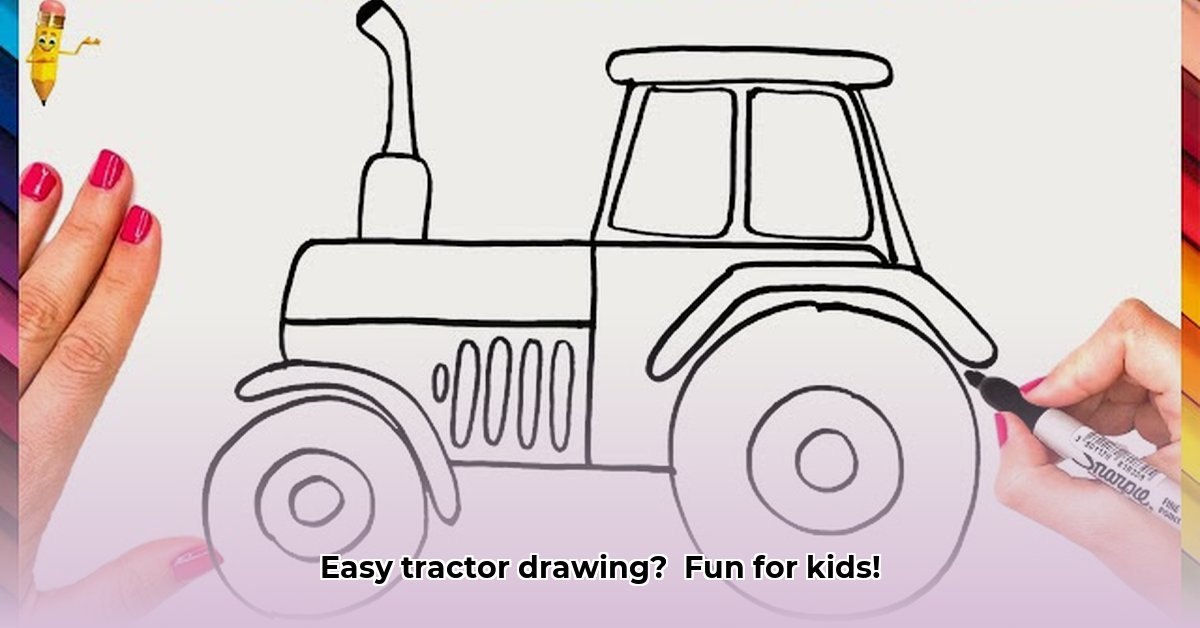
This method is like following a recipe, but instead of cookies, you're making a fantastic tractor masterpiece! It's perfect if you like learning by watching. Imagine a friendly video guiding you step-by-step!
Step 1: Building the Tractor's Body: Draw a long rectangle – this is the tractor's sturdy frame!
Step 2: Adding the Wheels: Add two big circles for the back wheels and two smaller circles in front. These are the tractor's powerful feet!
Step 3: The Driver's Seat: Add a smaller square or rectangle on top of the main body. That's where the farmer sits!
Step 4: Let's Get Detailed!: Add a chimney, headlights, and an exhaust pipe! This is where you get creative and add your own special touches!
Step 5: Finish it Off!: Time for color! Use your favorite colors to bring your tractor to life! Did you know that red tractors are super popular?
Method 2: The Amazing Website – Three Ways to Draw a Tractor!
This website is a treasure chest of tractor-drawing ideas! It offers three fun methods to create your tractor masterpiece. Let's explore!
Method A: Super Simple Shapes: Use basic shapes like circles, squares, and rectangles to build your tractor. It's like playing with LEGOs!
Method B: Detailed Tractor Drawing: This is for detail lovers! Add lots of extra lines and curves—a highly realistic drawing awaits!
Method C: Cartoon Tractor Fun-Fest: Get ready for silly fun! Create a playful, whimsical cartoon tractor with a unique personality.
Comparing Our Awesome Tractor Drawing Methods!
Both methods have their own fun aspects! Choosing the best one depends on what you like best. Let's compare them!
| Feature | YouTube Method | Website Methods |
|---|---|---|
| Learning Style | Visual, step-by-step | Visual, multiple approaches |
| Difficulty | Easy, great for beginners | Varies – some easy, others more challenging |
| Detail Level | Moderate | Simple to highly detailed |
| Flexibility | Less flexible | Highly flexible, lots of room for creativity |
YouTube Method: Pros & Cons
Pros: Easy to follow, great for visual learners; simple and straightforward. Cons: Less flexibility; might not be challenging enough for older kids.
Website Methods: Pros & Cons
Pros: Offers more options, caters to different skill levels; highly creative and flexible. Cons: Requires reading; might be a bit overwhelming for younger children.
The most important thing is to have fun! Try both methods, experiment, and create your own unique tractor masterpiece.
How to Teach Kids to Draw Tractors Using Different Methods
Two main approaches exist: a structured, step-by-step method and a more free-flowing, creative approach. Each caters to different learning styles. Combining both provides a well-rounded learning experience!
Method 1: The Geometric Tractor (Step-by-Step)
This method uses simple shapes like LEGOs!
- Start with a rectangle: The main body.
- Add a smaller rectangle: The driver's cabin.
- Draw four circles: The wheels!
- Add details! Exhaust pipe, grille, windows.
- Color it!
Pros: Teaches shapes and spatial reasoning; structured and easy. Cons: May feel restrictive; challenging for very young children.
Method 2: The Free-Flowing Tractor
Unleash your inner artist! Forget perfect shapes—capture the essence of a tractor!
- Start with a squiggly line: The basic tractor shape.
- Add wheels: Roundish shapes.
- Create a cabin: A boxy shape.
- Add details! Anything you want!
- Color creatively!
Pros: Encourages creativity; suitable for all ages; builds confidence. Cons: May not teach shapes; may seem unstructured.
Which Method is Best?
The best method depends on your child's age, skill level, and personality. Try both methods! The key is to have fun!